
How to Tape Together a PDF Download on 8.5 x 11" Paper for Quilt Pattern Templates
- donnawesterkamp
- May 7
- 4 min read
Taping together a PDF download printed on standard 8.5 x 11-inch paper can feel tricky at first. You want to make sure the dotted lines match perfectly and the 1/4-inch solid lines line up just right. This step is key to creating large, accurate templates for cutting out your quilt pieces. I’ll walk you through the process step-by-step, sharing tips and tools that make it easier and more precise.
Preparing Your Printed PDF Pages
Before you start taping, you need to print your PDF pages correctly. Most quilt pattern PDFs are designed to print on standard letter-sized paper (8.5 x 11 inches). Here’s what I do to get ready:
Print at 100% scale: Make sure your printer settings do not scale the pages. Set the print option to “Actual Size” or “100%” to keep the pattern accurate.
Check the test square: Many quilt patterns include a test square, usually 1 inch by 1 inch. After printing, measure this square with a ruler to confirm the scale is correct.
Organize pages in order: Lay out the pages on a flat surface in the order they will be taped. This helps you see how the pieces fit together.
Once your pages are printed and checked, you’re ready to start taping.
Matching the Dotted Lines and Solid Lines
The key to assembling your quilt template is aligning the dotted lines and the 1/4-inch solid lines perfectly. The dotted lines usually indicate where the pages overlap, and the solid lines mark the actual cutting or sewing lines.
Here’s how I do it:
Trim the edges carefully: Use scissors or a rotary cutter to trim the white margins on the sides of the pages where the dotted lines appear. Be careful not to cut into the dotted or solid lines.
Align the dotted lines: Place two pages side by side and line up the dotted lines exactly. These lines show where the pages overlap, so matching them ensures the pattern pieces connect properly.
Check the 1/4-inch solid lines: After aligning the dotted lines, make sure the 1/4-inch solid lines also line up. These lines are your seam allowance guides, so they must be continuous across pages.
Use a flat surface and good lighting: Working on a clean, flat table with good light helps you see the lines clearly and avoid mistakes.
Taping the Pages Together
Once the pages are aligned, it’s time to tape them. I recommend using thin, clear tape so you can see the lines underneath and avoid bulky seams.
Here’s my taping process:
Use a tape runner or thin clear tape: A tape runner is great because it applies a thin strip of adhesive without wrinkles. Otherwise, use clear tape cut into small strips.
Tape along the overlapped edges: Place tape on the back side of the pages along the overlapped edges where the dotted lines meet. This keeps the front clean and easy to read.
Press firmly to avoid bubbles: Smooth the tape down to prevent air bubbles or wrinkles that can distort the pattern.
Double-check alignment before taping: Make sure the dotted and solid lines still match perfectly before securing the tape.
If you want a more durable template, you can also laminate the taped pages or mount them on cardboard before cutting.

Tools That Make Taping Easier
Having the right tools can make this process smoother and more enjoyable. Here are some items I find helpful:
Rotary cutter and cutting mat: For trimming edges cleanly and accurately.
Clear tape or tape runner: Thin tape keeps the pattern visible and flat.
Ruler or quilting ruler: To check that lines are straight and measurements are accurate.
Bone folder or flat edge: To smooth tape and paper seams.
For example, the Fiskars Rotary Cutter is a reliable tool for trimming paper edges precisely. It helps me avoid jagged cuts that can throw off alignment.
Tips for Working with Large Quilt Templates
When your pattern is big, taping many pages can get overwhelming. Here are some tips to keep it manageable:
Work in sections: Tape a few pages at a time, then join the sections together. This keeps the work area organized.
Label pages lightly: Use a pencil to number or mark pages on the back. It helps you keep track of the order.
Use a large flat surface: A big table or floor space lets you spread out the pages without crowding.
Be patient and take breaks: Aligning and taping takes time. Rushing can cause mistakes.
Cutting Out Your Quilt Templates
After taping, your large template is ready to cut out. Follow these steps:
Cut on the solid 1/4-inch lines: These lines include the seam allowance, so cut precisely on them.
Use sharp scissors or rotary cutter: Sharp tools make clean cuts and prevent fraying.
Store templates flat or rolled: To keep them in good shape for future use.
If you want to protect your templates, consider using clear contact paper or laminating sheets. This makes them durable and reusable.

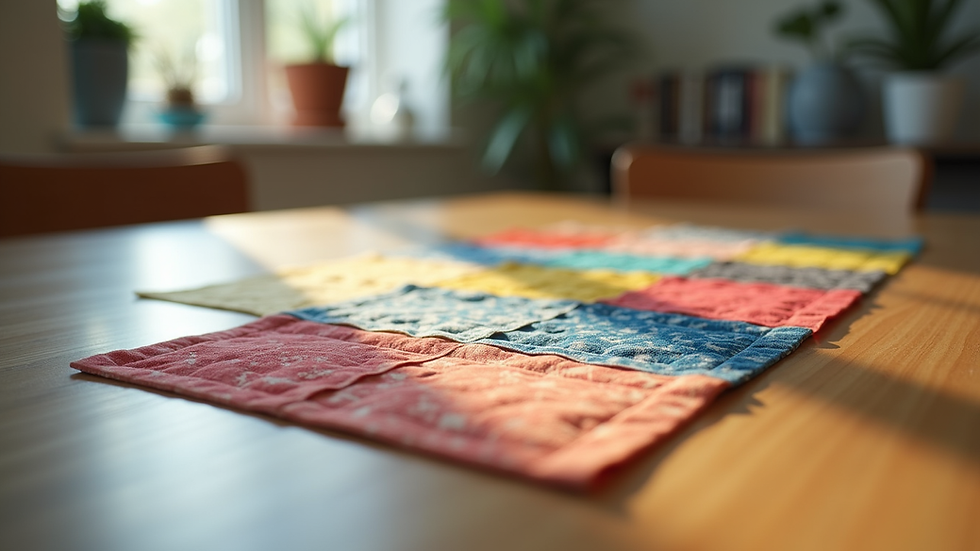
Using PDF Quilt Patterns from Donna Westerkamp
Donna Westerkamp offers beautiful, easy-to-follow PDF quilt patterns, especially for modern baby quilts. Her patterns come with clear instructions and well-designed templates that print on standard 8.5 x 11-inch paper.
When I use Donna’s patterns, I appreciate how the dotted lines and 1/4-inch solid lines are clearly marked. This makes taping the pages together straightforward. Plus, her patterns often include helpful tips for assembly and cutting.
You can find her patterns at Donna Westerkamp’s website. If you’re new to taping PDF patterns, starting with her designs is a great way to practice.
Final Thoughts on Taping PDF Quilt Patterns
Taping together a PDF download printed on standard paper is a simple but important step in quilting. Matching the dotted lines and 1/4-inch solid lines ensures your templates are accurate. This accuracy makes cutting fabric easier and your finished quilt look professional.
Take your time trimming, aligning, and taping. Use the right tools to make the process smooth. And remember, patterns from designers like Donna Westerkamp are designed to be user-friendly, helping you create beautiful quilts with confidence.
Once your templates are ready, you’re all set to cut fabric and start sewing your next quilt project. Enjoy the process and happy quilting!


Comments