
Mastering Applique: A Step-by-Step Guide for Quilters
- donnawesterkamp
- Apr 8
- 3 min read
Updated: May 5
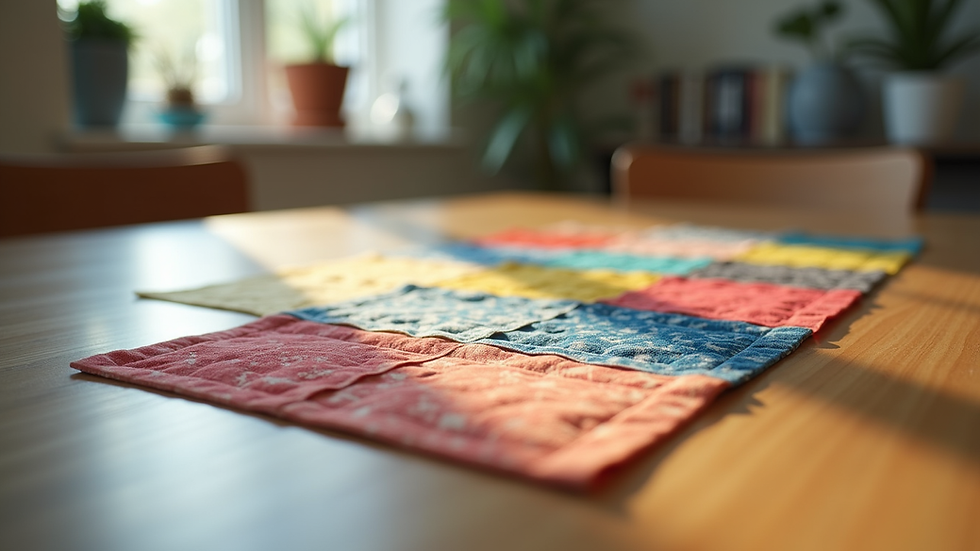
Applique adds a unique, personalized touch to quilt tops, turning simple fabric pieces into beautiful designs. Sewing applique pieces by machine can be faster and more precise than hand stitching. However, it requires some know-how to achieve clean, professional results. This guide walks you through the essential steps to sew applique pieces onto your quilt top using a sewing machine. By following these steps, you can create stunning quilts with confidence.
Preparing Your Applique Pieces
Before you start sewing, preparation is key. Properly preparing your applique pieces ensures they lay flat and attach securely.
Choose the right fabric: Use fabrics that complement your quilt top and hold their shape well. Cotton is a popular choice.
Cut your shapes accurately: Use sharp scissors or a rotary cutter to cut your applique shapes. You can use templates or freehand cut, depending on your design.
Stabilize your fabric: Apply fusible web or stabilizer to the back of your applique pieces. This helps them stick temporarily to the quilt top and prevents shifting while sewing.
Press your pieces: Iron your applique pieces after applying fusible web to ensure they adhere well.
Taking time with these steps reduces puckering and uneven edges during sewing.
Setting Up Your Sewing Machine
Your sewing machine settings affect the quality of your applique stitching. Adjusting the right settings helps you sew smoothly around curves and corners.
Use the right needle: A sharp or microtex needle sized 70/10 or 80/12 works well for applique on cotton fabrics.
Select the stitch type: A narrow zigzag stitch or a satin stitch is ideal for securing applique edges. The zigzag stitch should be narrow and short to cover the edges without bulk.
Adjust stitch length and width: Set the stitch width between 1.5 to 2.5 mm and stitch length between 0.5 to 1 mm for neat coverage.
Choose matching thread: Use a thread color that blends with your applique fabric or contrasts for a decorative effect.
Lower the feed dogs if needed: For intricate shapes, lowering or covering the feed dogs allows you to move the fabric freely by hand.
Test your settings on scrap fabric before sewing on your quilt top to avoid mistakes.
Positioning and Securing Applique Pieces
Placing your applique pieces correctly ensures your design looks balanced and stays in place during sewing.
Arrange your pieces: Lay out all applique shapes on your quilt top to finalize placement. Use pins or fabric glue sticks to hold them temporarily.
Press the pieces: If you used fusible web, press the applique pieces onto the quilt top to bond them lightly.
Use stabilizer under the quilt top: Adding a tear-away or water-soluble stabilizer underneath the quilt top prevents fabric shifting and puckering during stitching.
Avoid using too many pins as they can cause fabric distortion or damage your needle.
Sewing the Applique Pieces
Now comes the fun part: stitching your applique pieces onto the quilt top.
Start sewing slowly: Begin at a less noticeable edge and sew carefully around the shape.
Guide the fabric gently: Use your hands to guide the fabric, especially around curves and points, without pulling or stretching.
Pivot at corners: When you reach a corner, stop with the needle down, lift the presser foot, turn the fabric, then lower the foot and continue sewing.
Overlap stitches slightly: Overlap your stitches at the start and end to secure the thread.
Trim threads neatly: Cut thread tails close to the fabric to keep your work tidy.
If you make a mistake, don’t hesitate to unpick and resew. Precision matters for a polished look.
Finishing Touches
After sewing, some finishing steps enhance the durability and appearance of your applique.
Trim excess fabric: Carefully trim any excess applique fabric close to the stitching without cutting the stitches.
Press the quilt top: Use a steam iron to press the quilt top flat, setting the applique stitches.
Add decorative stitching: If desired, add decorative stitches like blanket stitch or embroidery to highlight the applique edges.
Secure loose threads: Tie off or backstitch any loose threads to prevent unraveling.
These final touches make your quilt top ready for quilting and display.
Tips for Success
Use a walking foot on your sewing machine to help feed multiple layers evenly.
Practice on scrap fabric to get comfortable with your machine’s settings.
Keep your sewing machine clean and well-oiled for smooth stitching.
Experiment with different stitch types and thread colors to find your preferred style.
Take breaks to avoid hand fatigue and maintain precision.
Mastering applique by machine opens up many creative possibilities for your quilting projects.
Conclusion
In conclusion, mastering the art of machine applique can greatly enhance your quilting experience. By following the steps outlined in this guide, you can create beautiful designs that showcase your creativity. Remember, practice makes perfect. Enjoy the process, and don't be afraid to experiment with different techniques and styles. Happy quilting!


Comments